Preparing Your Boat for Winter
Time to read 8 min
Another summer boating season has come and gone, and it’s time for every owner’s least favorite chore: getting the boat ready for winter. With colder days on the horizon, it’s absolutely crucial to properly winterize your boat.
We don’t need to tell you that harsh weather and freezing temps can take a major toll on your boat’s engine, fuel system, gelcoat, hardware and more. By preparing your boat for winter, you will prevent damage and extend the lifespan of your vessel. That means less hassle and more fun when the weather warms up again.
So take a look over our winter preparation checklist, block out a day or two on the calendar and get it done. You’ll thank yourself come springtime!
Table of Contents
1. Step One: Deep Clean the Interior and Exterior
2. Step Two: Seal and Protect Your Gelcoat
3. Step Three: Check and Clean Hardware
4. Step Four: Prevent Engine Damage
Step One: Deep Clean the Interior and Exterior
A clean boat will be less prone to deterioration during the off-season and require less prep work when it’s time to use it again. Make sure to haul your boat onto a trailer so you can clean below the waterline, where most of the gunk builds up.
Start by cleaning your boat’s exterior. Grab your Poli Wash® boat soap, bucket and cloth, and scrub down that boat! You can use this cleaner on both your hull and deck. Take the extra time to get all traces of dirt, salt and grime out of the nooks and crannies. Don’t allow the soap to dry on your boat’s surface, as this can leave streaks. Rinse the exterior with a hose and buff dry with a microfiber towel.
Don’t forget your boat’s interior surfaces. Whether you’re planning to put your boat in dry storage or keep it in the water, you don’t want to deal with a nasty mold problem at the end of winter. Remember, moisture is the enemy. The goal should be to keep your interior as dry as possible.
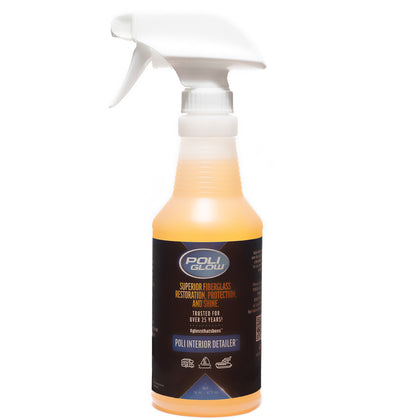
Use Poli Interior Detailer® with UV scavengers to clean and protect most surfaces inside your cabin. For leather and vinyl seats, we recommend Poli Leather & Vinyl Pro® . It contains natural beeswax, lanolin, and aloe vera conditioners to help prevent cracking and peeling in cold weather.
Keep your seat cushions clean, dry and stored upright to promote air circulation. Dehumidifier crystals such as DampRid can help to trap and absorb excess moisture and prevent musty smells inside your boat.
Step Two: Seal and Protect Your Gelcoat
Once your boat is clean inside and out, inspect your gelcoat, which is the thin layer that sits on top of your fiberglass surface. Your boat’s gelcoat is its first line of defense against the elements. It’s also one of the first areas to show signs of wear. Before the temps start dropping and the rain (or snow) starts falling, it's important to make sure your gelcoat is sealed and protected.
If Your Gelcoat Is In Good Condition…
Here’s how to tell if your gelcoat is in good condition:
- The gelcoat is glossy, not faded or chalky
- The colors of your boat are vivid
- There are no marks or stains
- There is no peeling, cracking, or other physical damage to the gelcoat
This is usually the case only if your boat is new, or if you recently restored the gelcoat.
If that’s you, congratulations! To keep your boat looking this way as long as possible, we recommend applying a spray-on ceramic like Poli Slick Seal® . This ceramic coating adds an extra layer of protection to your gelcoat and gives it even more shine than it already has. Applying Poli Slick Seal® is as easy as spraying it on a microfiber towel and wiping it on to your boat.
If Your Gelcoat Is NOT In Good Condition…
Here’s how to tell if it's time to give your gelcoat a little TLC:
- The gelcoat has lost its gloss and is now faded or chalky
- The colors of your boat are muted, or even different than before
- You can see marks or stains
- You find peeling, cracking, or other physical damage to the gelcoat
If you’re in this boat (excuse the pun), now is a good time to restore your gelcoat—before you store it for the winter.
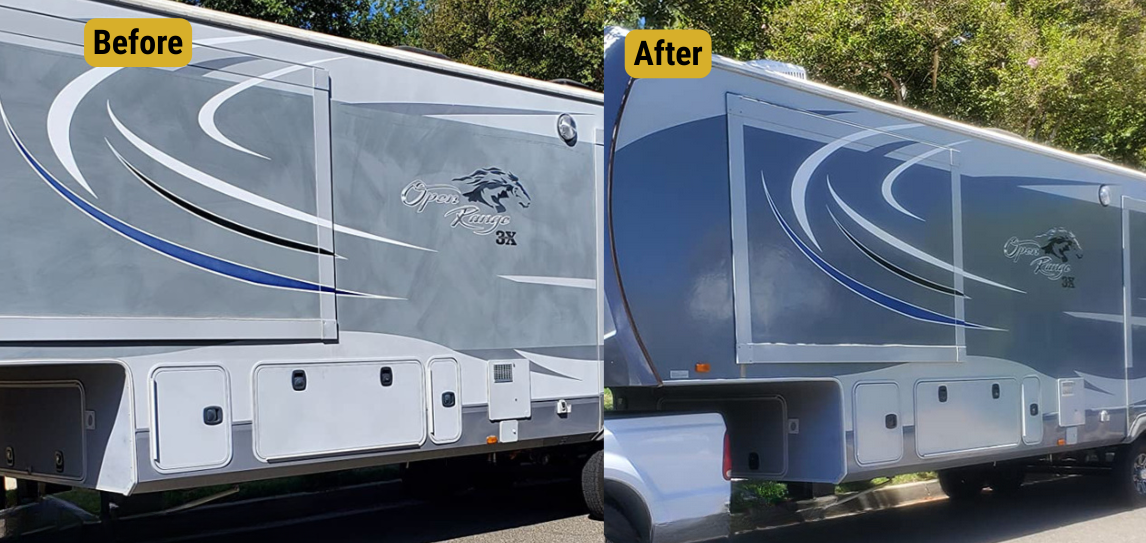
We recommend using Poli Glow® to seal and protect your gelcoat. This long-lasting boat polish alternative binds to your fiberglass hull like a ceramic coating, but unlike ceramic you can easily apply it yourself. No buffing, no compounding, no $2000+ bill. The best part? It lasts up to 6 years with a few yearly maintenance coats.
How To Apply Poli Glow® For the First Time
- You must remove all oxidation before you apply Poli Glow®, otherwise you’ll just be sealing in unsightly stains and marks. Please refer to this comprehensive guide for instructions on how to properly prepare your gelcoat surface for Poli Glow®.
- Once the oxidation is removed and your surface is prepped, moisten the Poli-Mitt Applicator® with water. Wring it out so that it’s damp, not soaked.
- Shake well and drizzle several lines of Poli Glow® onto the applicator. Squeeze gently to evenly distribute the product. Do not soak.
- Working in four to six foot sections, apply Poli Glow® to your boat’s surface with vertical or horizontal strokes (not circles).
- Apply 6-12+ thin coats for a first use, depending on the climate and your boat’s condition. (See the Poli Glow® Coating Chart here for specific guidelines.)
- Wait several minutes for each coat to dry between applications. Apply the next coat when the surface is not tacky and doesn’t feel wet, about 1-2 minutes.
- Allow your boat to cure for 48 hours.
Poli Glow® forms a UV-resistant seal that helps repel water, deflect the sun’s rays and prevent stains. This is important year-round, but it’s especially crucial during winter, when rough weather can degrade your boat very quickly.

Step Three: Check and Clean Hardware
No one wants to deal with rusted and corroded hardware after a long winter! At the end of boating season, make sure to inspect your exterior metals and fittings for any signs of wear or damage.
Now is the time to thoroughly clean your hardware, lubricate moving parts such as hinges and take care of any needed repairs. It’s a good idea to apply corrosion inhibitor coatings to the metal surfaces on your boat’s exterior. This will help ensure your hardware stays functional and rust-free.
Step Four: Prevent Engine Damage
Your engine literally powers your boat, and smart winterization can help prevent the need for costly repairs. Start by changing your boat’s oil and filter. Flush the engine with fresh water to remove salt and contaminants.
Next, fill your boat’s fuel tanks to about 90%, allowing room for expansion in case of freezing. Add a fuel stabilizer to keep the fuel from breaking down while the engine sits idle. Then run your engine for 15 minutes to distribute the stabilizer throughout the entire fuel system.
Finish by spraying fogging oil on your engine’s cylinders. The protective coating is essential for preventing rust, corrosion and condensation on your engine components.
Disconnect and remove any batteries from your boat and check the connections for corrosion. Batteries should be stored on a trickle-charger when not in use.
Step Five: Prepare Your Water Systems
Any water left inside your boat can expand and freeze, leading to burst pipes and other damage. If you live in an area that experiences frosts and freezes (even just once a year), it’s critically important to drain and flush every water system in your vessel.
Make sure your freshwater tanks, sinks, showers, toilets and bilge are completely clean and empty. Check all drains, pumps and lines for standing water. Flush your plumbing system with a marine-safe antifreeze and add a small amount to the bilge as well. This will reduce the risk of ice crystals forming during cold weather.

Step Six: Cover Your Boat
It’s generally recommended to keep your boat in a covered storage facility during the winter months, especially if you live in an area that gets hard freezes. But regardless of how and where you store your boat, a well-fitted cover can give it an extra layer of protection and help keep it clean.
Look for a breathable, secure boat cover that repels water but still allows for the free flow of air. Choose a size and style that fits your boat tightly with no gaps. (For some boats, a custom cover may be needed to ensure a proper fit.) Steer clear of tarps, which are difficult to secure and could trap moisture inside your boat.
For boats kept outdoors in very harsh climates, professional shrink-wrapping offers optimal coverage. Vents should be added to prevent moisture buildup and condensation.
Boat Winterization Tips for Successful Storage
Most winter damage to boats isn’t caused by a sudden gale or ice storm, but rather by gradual deterioration over time. The following winter preparation tips can help you maintain your boat’s condition through the colder months:
✓ Check on your boat periodically.
Even if you’re not planning to use your boat until spring, it’s worth the trouble to visit it now and then. Remove any debris or snow accumulation on the cover if your boat is stored outdoors. Look for leaks, water incursions, bad smells or maintenance issues and fix them quickly.
✓ Extend the longevity of your Poli Glow® coating.
Hopefully, you protected your hull with Poli Glow® before the winter chill set in. Poli Slick Seal® ceramic coating provides an extra layer of protection from the elements that lasts up to 6 months. Spray it directly on the surface of your clean boat and use a microfiber cloth to distribute the product. It’s that simple!
✓ Re-apply Poli Glow® in the spring (if you didn’t in the fall)
If you didn’t apply Poli Glow® to your boat in late autumn, be sure to do it in early spring. You want to get ahead of this task so that when the weather warms up, your boat is ready. (Plus, the glossy “new boat” shine will probably make you the envy of your whole marina! Just saying.)
Extend Your Boat’s Lifespan With Smart Winter Care
Getting your boat winter-ready is key to preventing damage and ensuring a smooth start when warmer days return. Depending on your local climate, your winterization checklist may look slightly different than the one we’ve laid out here.
For example, boats in tropical climates require more frequent applications of Poli Glow®, but there’s no need to take precautions against below-zero temps. Smaller vessels may do fine with a simple cover and some basic engine prep, while large and complex boats may require a professional tune-up. Feel free to customize these guidelines to fit your specific needs.
One winterization task you can confidently handle yourself is protecting your gelcoat with Poli Glow®. This DIY-friendly boat polish delivers 5-6 years of coverage with annual touch-ups. It gives your boat a durable, high-gloss finish that easily repels water, weather and UV rays.
Your boat is a major investment (not to mention your pride and joy), and proper winterization will keep it in the water for longer. Click here for the best marine-specific products to clean and protect your boat this winter.


